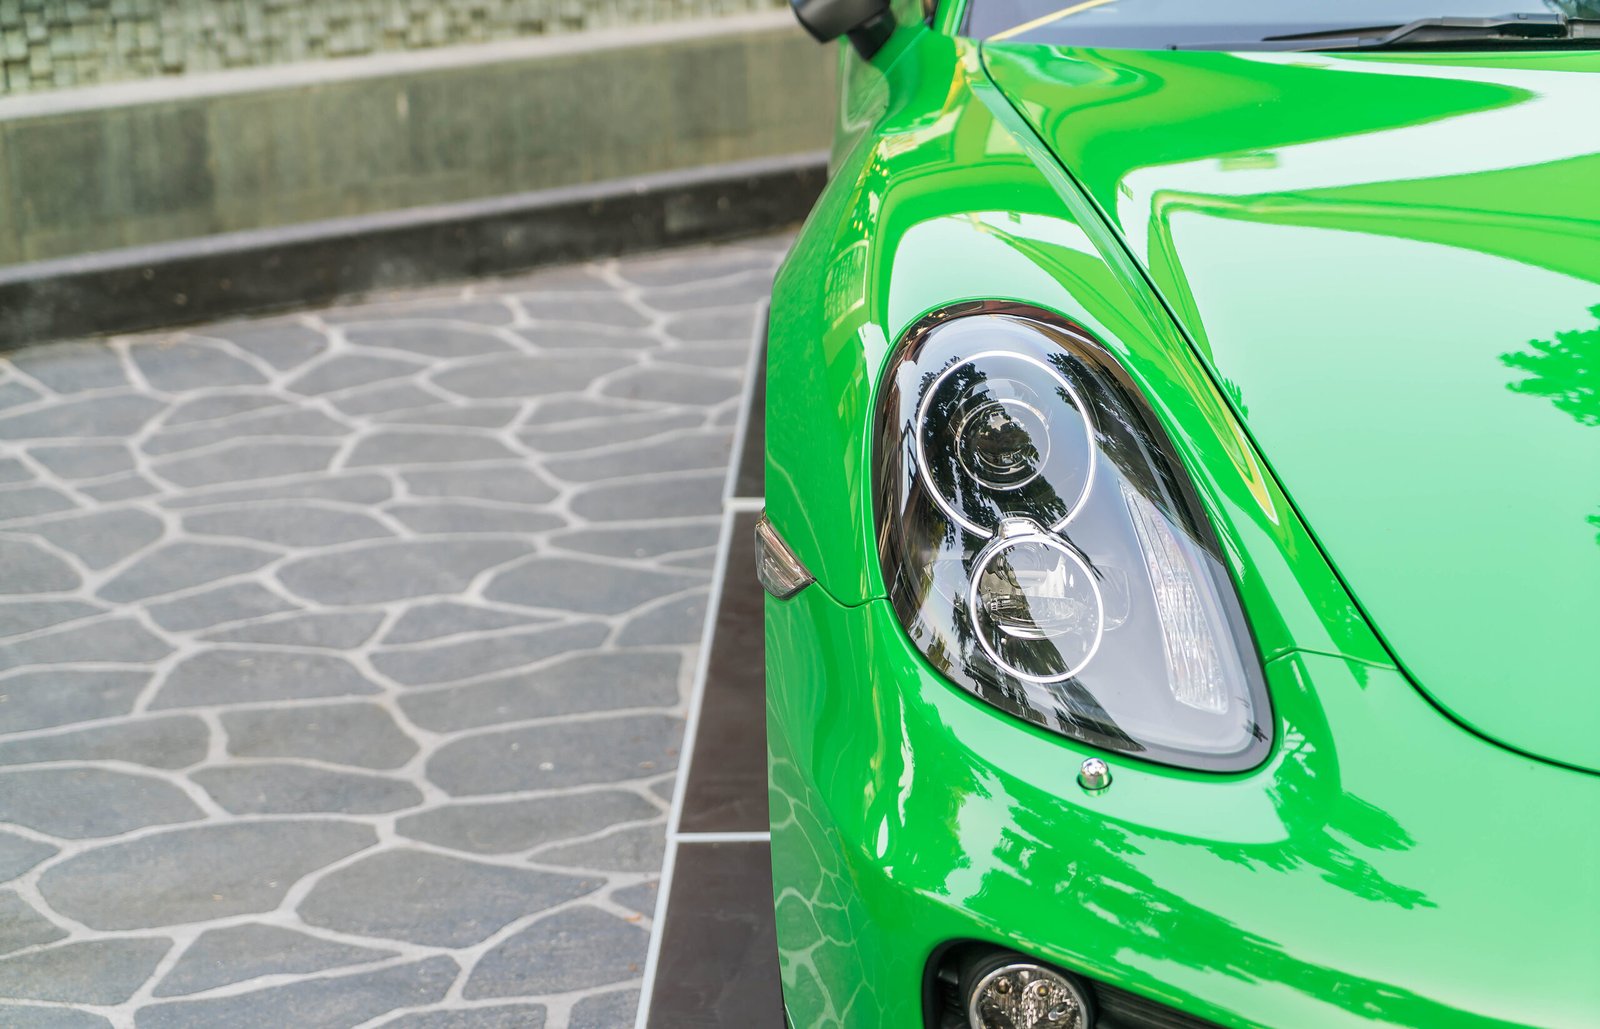
Installing pre-cut Paint Protection Film (PPF) requires precision and an understanding of both the vehicle and the film. This guide provides professional installers with a detailed, step-by-step process to ensure a flawless installation. By following these instructions, you can deliver superior results and enhance customer satisfaction.
Materials and Tools Needed
- A Pre-Cut PPF Kit – We suggest using one of our FlexiSheild PPF Kits, they are produced using a high-quality, professional-grade film, that will ensure the best results.
- Installation Solutions – Slip solution, tack solution, and a degreasing agent.
- Cleaning Supplies – Isopropyl alcohol (IPA), clay bar, lint free microfibre towels & detailing brushes for any nooks and crannies.
- Application Tools – Squeegees (soft and hard), a heat gun, and application gloves.
- Good Lighting – Ensure you are working under adequate, consistent lighting throughout the application process
- Surface Protection – For covering non-application areas during installation.
Preparation
Work Environment
- Ensure the workspace is clean, dust-free, and well-ventilated.
- Maintain a controlled temperature between 21-27°C (70-80°F).
Vehicle Preparation
- Clean Thoroughly: Wash the vehicle using a pH-neutral soap. Rinse and dry thoroughly.
- Decontaminate: Use a clay bar to remove any embedded contaminants such as brake dust.
- Inspect: Check the paint surface for defects or damage and correct them if necessary.
- Dry: Ensure the surface is completely dry before film application. Use a lint-free cloth or car drier. Ensure any seals and recesses are also fully dry.
Film Preparation
- Inspect Pre-Cut Kits: Layout and check over your pre-cut kit, if anything isn’t right, reach out to us and we will correct it.
- Prepare Slip Solution: Mix water with the concentrated slip solution according to the manufacturer’s recommendations, these can be found on the concentrate.
- Pre-Mist: Lightly mist the adhesive side of the pre-cut film with slip solution to ease handling and positioning.
Installation Process
Panel Inspection and Alignment
- Align: Position the pre-cut film piece on the corresponding panel, ensuring it aligns with the vehicle’s edges and contours.
Application
- Apply Slip Solution: Lightly spray slip solution on the vehicle’s surface and the adhesive side of the film.
- Position Film: Gently place the film on the panel, the slip solution allows it to glide so you can adjust its position without creating creases.
- Initial Tack: Ensure the film is correctly positioned before allowing it to tack down.
Squeegeeing
- Remove Air Bubbles: Use a soft squeegee to push out air bubbles and excess slip solution, working from the centre outwards.
- Edge Securing: Switch to a hard squeegee to ensure the edges adhere properly and avoid lifting.
Tucking
- Fold Edges: Carefully tuck any excess film around the edges under the panel using soft squeegee. Ensure firm pressure to avoid any air remaining becoming trapped at the edges.
Seal Edges: Use a heat gun to gently heat the edges of the film and press down to ensure a secure seal.
Final Touches
- Inspection: Examine the film for any imperfections such as bubbles, wrinkles, or lifting edges. Address any issues as needed.
- Cure Time: Allow the film to set undisturbed for the recommended curing time. Avoid washing or exposing the vehicle too harsh conditions during this period.
Post-Installation Care
Cleaning Instructions
- Instruct customers to avoid washing the vehicle for at least 72 hours after installation.
- Recommend using pH-neutral car wash soap and a soft microfibre cloth for cleaning.
Maintenance Tips
- Advise customers on regular inspections to ensure the film remains secure.
- Suggest using non-abrasive cleaners and tools to maintain the film’s clarity and performance.
Installing pre-cut PPF is a precise process that requires attention to detail. Following this guide will help ensure a professional finish and optimal protection for the vehicle. Stay updated with the latest techniques and products to maintain high standards in your installations.
For further assistance or specific product inquiries, please contact our support team.
Contact Us
support@encirco.com
 Free shipping on all UK orders £250+


